The Sculptor's Hand: 3D Printing Custom Enclosures for Electronics Projects
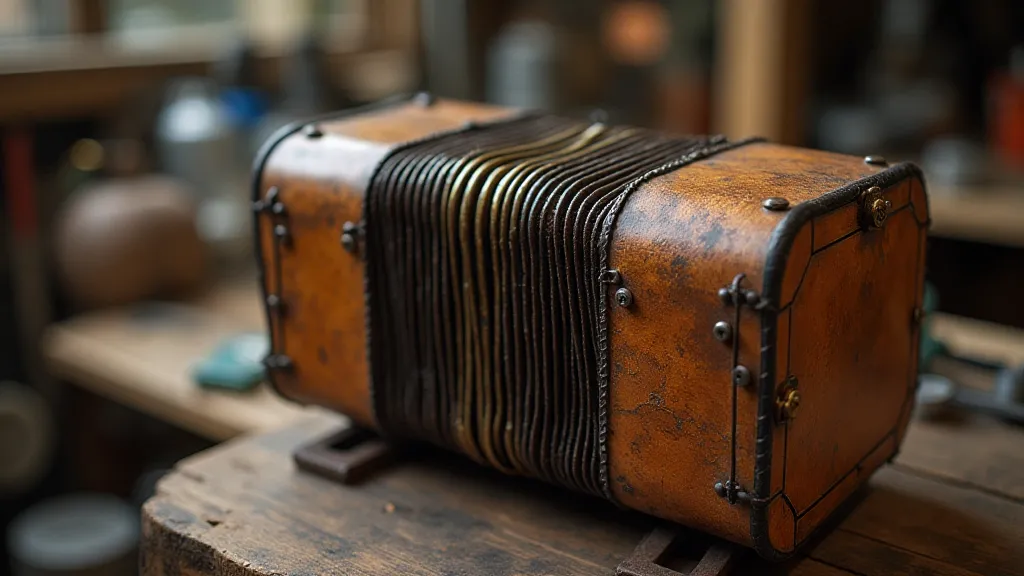
There’s a beauty to the weathered wood and meticulously crafted bellows of an antique accordion. Holding one, feeling the history seep into your hands, connects you to generations of artisans—the carpenters, the metalworkers, the leather specialists—each contributing their skill to a single, complex instrument. It's a testament to a time when things were built to last, designed not just for function, but for enduring aesthetic appeal. And that same appreciation for meticulous construction and bespoke design applies directly to the electronics projects we build today. While the components themselves – the microcontrollers, sensors, and LEDs – are undoubtedly impressive, a truly professional finish often comes down to the enclosure.
For a long time, the default for hobbyist electronics was a box—a generic, often flimsy plastic container. Functional? Yes. Inspiring? Rarely. The spirit of innovation deserves a better vessel, something that reflects the effort poured into the project itself. That’s where 3D printing comes in, allowing us to become, in a sense, the modern-day equivalent of those accordion craftsmen – crafting custom enclosures with the same dedication to detail and artistry.
The Evolution of Containment: From Radio Shack Boxes to Bespoke Designs
I remember my first foray into electronics: a blinking LED project encased in a standard Radio Shack project box. It worked, technically, but the entire thing felt…incomplete. It lacked personality. It lacked integration. Looking back, I realize it was a symptom of a wider trend – a focus on function over form. This isn’s to diminish the importance of functionality, of course. But the best electronics projects, the ones that truly stand out, are those where hardware and aesthetics coalesce into a unified whole.
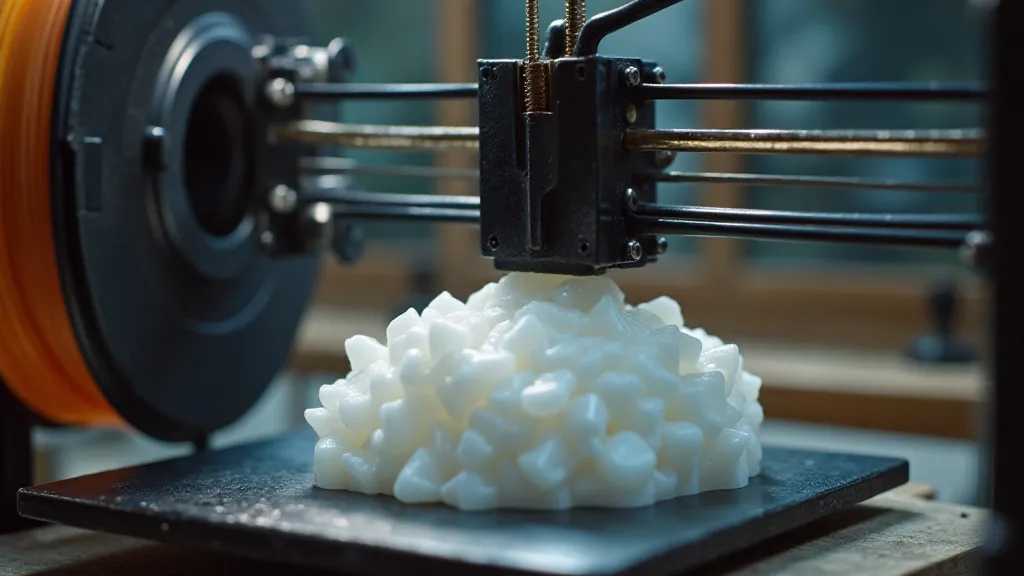
The rise of Arduino and Raspberry Pi significantly changed the landscape. Suddenly, complex functionality was accessible to a wider audience, and the desire to create truly unique projects exploded. Yet, the default enclosure remained stubbornly generic. This created a gap – a demand for custom solutions that could encapsulate the complexity and creativity within. Enter 3D printing. It offered a revolutionary shift, turning CAD designs into tangible reality.
Designing for Durability: CAD and Material Selection
The first step in crafting a custom enclosure is, naturally, the design. Free CAD software like Tinkercad (for beginners) and Fusion 360 (for more experienced users) provide the tools to translate your ideas into a digital blueprint. Consider the project’s dimensions, internal component placement, ventilation requirements, and desired aesthetics. Think about ergonomics; how will the enclosure be held or mounted?
Material selection is equally crucial. PLA is a common choice for its ease of printing and biodegradability, but it’s relatively brittle and not ideal for projects exposed to significant stress or heat. ABS offers greater strength and heat resistance, but can be trickier to print and emits fumes. PETG is often considered a good compromise – offering a balance of strength, flexibility, and ease of printing. More advanced options include nylon and polycarbonate, offering exceptional durability and chemical resistance, but demanding more sophisticated printing setups.
Think about wall thickness. Too thin, and the enclosure will be fragile. Too thick, and it will take longer to print and consume more filament. A good starting point is often around 2-3mm, adjusting based on material and intended use. Consider adding features like screw holes, mounting brackets, and cable management channels during the design phase – these can significantly enhance the enclosure’s functionality and appearance.
Post-Processing: Elevating the Finish
A freshly printed 3D-printed enclosure rarely looks quite finished. Layer lines are often visible, and the surface can be rough. Post-processing techniques can dramatically improve the aesthetics. Sanding is the most common approach, starting with coarse grit sandpaper to remove larger imperfections and progressively moving to finer grits to achieve a smooth surface. Acetone smoothing (for ABS) can also be employed to melt away layer lines, but it requires proper ventilation and safety precautions.
Priming and painting are excellent ways to achieve a professional-looking finish. A good primer will help the paint adhere properly and provide a uniform base. Acrylic paints are generally easy to apply and offer a wide range of colors. Consider clear coats to protect the paint and add shine. Wet sanding between coats of paint can further enhance the smoothness.
Sometimes, small details can make a big difference. Adding custom decals, engraving names or logos, or even incorporating LED lighting can elevate the enclosure from functional to truly remarkable.
The Resonance of Craftsmanship: A Modern Legacy
There's a palpable satisfaction in holding a finished project housed in a custom-designed and 3D-printed enclosure. It’s more than just a box; it's a testament to your ingenuity and dedication. It’s a physical manifestation of the passion that drove you to create something unique.
Just as an antique accordion whispers tales of the artisan who crafted it, a thoughtfully designed and meticulously finished enclosure can imbue your electronics project with a sense of permanence and purpose. It’s a small detail, perhaps, but it’s a powerful statement – a commitment to quality, creativity, and a reverence for the craft. It’s about recognizing that even in the age of microchips and automated manufacturing, the human touch remains essential. We, as builders, have become the modern-day artisans, continuing the legacy of creating functional beauty with our own hands.