The Dream Weaver's Loom: Creating Reactive Lighting Systems with Microcontrollers
There's a particular magic that clings to old accordions. A richness, a history. It’s more than just the polished wood and gleaming keys; it’s the echo of countless melodies played in smoky dance halls, the murmur of laughter and applause, the stories held within the bellows themselves. My grandfather, a taciturn man of few words, owned one. I only knew him as a keeper of secrets, and that accordion was the key to a world I longed to understand. He’s gone now, but that accordion remains – a silent testament to a past brimming with life and artistry.
The craft that went into building an accordion is staggering. Each reed meticulously shaped, each key perfectly weighted, the leather bellows painstakingly stitched. It's a beautiful combination of mechanical precision and artistic expression. Modern electronics share a similar lineage; they are built upon layers of intricate design and exacting manufacturing, but with the potential to respond to the world around them in ways that my grandfather’s accordion never could.

From Mechanical Resonance to Digital Response
My grandfather wasn’t just a collector; he was a caretaker. He understood that these instruments were more than just objects; they were living legacies. Similarly, when we build electronics projects, especially interactive systems, we’re not just connecting wires and writing code; we’re creating something that responds to its environment, that has a unique presence. This article explores how we can apply this principle to create reactive lighting systems, using microcontrollers like Arduino and Raspberry Pi – modern tools capable of weaving their own forms of digital resonance.
The Fundamentals: Sound, Light, and Code
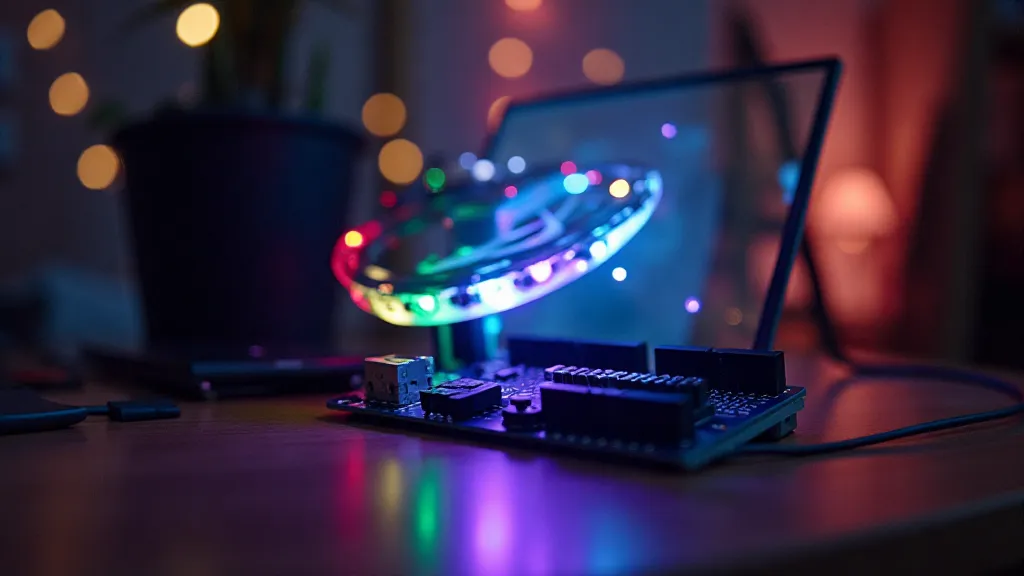
The core principle behind reactive lighting is simple: take an input (sound, movement, light level, temperature), process it, and use the resulting data to control light output. Arduino and Raspberry Pi provide the bridge between these inputs and outputs. Arduino excels at real-time response and is fantastic for projects that require immediate reaction to stimuli. Raspberry Pi, with its processing power and networking capabilities, is better suited for more complex algorithms and data visualization. Let's consider sound as our primary input. A microphone connected to an Arduino can capture ambient sound. The Arduino then converts this analog signal into digital data that can be analyzed. Simpler projects might measure the overall sound level and map it to the brightness of an LED strip. More sophisticated systems might analyze the frequency content of the sound, using different colors to represent different tones.
The beauty of this process lies in its malleability. We aren't limited to just replicating the input. We can distort it, transform it, and create entirely new experiences. Imagine an installation that responds to the rhythm of music with pulsing light, or a light show that changes color based on the volume of laughter in a room. These are the possibilities that lie within the realm of reactive lighting.
Practical Project Ideas: Building Your Own Dream Weaver
Let's outline a few project ideas ranging in complexity, suitable for various levels of experience with Arduino and Raspberry Pi.
Beginner: Sound-Reactive LED Strip This is a great starting point. You’ll need an Arduino, a microphone module, an LED strip, and some resistors. The code will read the analog value from the microphone, map it to a range of brightness values, and control the LED strip accordingly. This project demonstrates the basic principle of input-to-output mapping.
Intermediate: Movement-Triggered Ambient Lighting This project uses an ultrasonic sensor (or a PIR motion sensor) to detect movement. When motion is detected, the LED strip will change color or display a pre-programmed sequence. This introduces the concept of state machines and event-driven programming.
Advanced: Frequency-Specific Color Mapping with Raspberry Pi This project utilizes a Raspberry Pi to perform a Fast Fourier Transform (FFT) on the audio input. The FFT decomposes the audio signal into its constituent frequencies. Each frequency band can then be mapped to a specific color. This allows for a much more nuanced and expressive response to music. Imagine lights changing to reflect the bass line or shimmering in response to high-pitched melodies – it’s a far cry from the simple on/off of my grandfather’s accordion, but holds the same echo of responsiveness to a story unfolding.
The Art of Calibration and Aesthetics
Beyond the technical aspects, reactive lighting is also an art form. Calibration is key. The mapping between input and output needs to be carefully tuned to achieve the desired aesthetic. Experiment with different algorithms and parameters. Consider the context in which the installation will be viewed. A dimly lit room will require different settings than a brightly lit space.
Furthermore, think about the overall visual impact. Reactive lighting should enhance the experience, not distract from it. Subtlety and restraint can be just as effective as bold and dramatic displays. The way a skilled accordionist subtly bends a note to draw the listener in, the goal should be to emulate a similar subtlety in our digital creations.
Restoration and Collecting: A Parallel Craft
My grandfather’s accordion collection wasn’s just about possessing instruments; it was about preserving a craft. The meticulous repair of bellows, the careful re-voicing of reeds - these were acts of reverence, ensuring that these instruments could continue to tell their stories. The same principle applies to electronics. We can approach these projects with a similar appreciation for craftsmanship.
Building reactive lighting systems isn’t just about following tutorials; it’s about understanding the underlying principles and experimenting with new techniques. It's about learning from your mistakes and continuously improving your skills. It’s about respecting the technology and using it to create something beautiful and meaningful. Just as a collector cherishes the history embedded in an antique accordion, we should appreciate the history of electronics and the potential for innovation that lies ahead.

Conclusion: Weaving Light into Experience
Creating reactive lighting systems is a fascinating intersection of art, science, and technology. It's a journey of discovery, a chance to explore the potential of microcontrollers and transform ordinary spaces into immersive experiences. Like the melodies that flowed from my grandfather’s accordion, these installations can evoke emotions, spark imagination, and create lasting memories. The ability to capture and re-interpret the nuances of the world around us and translate them into a visual spectacle is a profoundly rewarding endeavor. So, pick up your Arduino, fire up your Raspberry Pi, and start weaving light into experience. The world is waiting to be illuminated.