The Alchemist's Toolkit: Custom PCBs & the Art of Circuit Fabrication
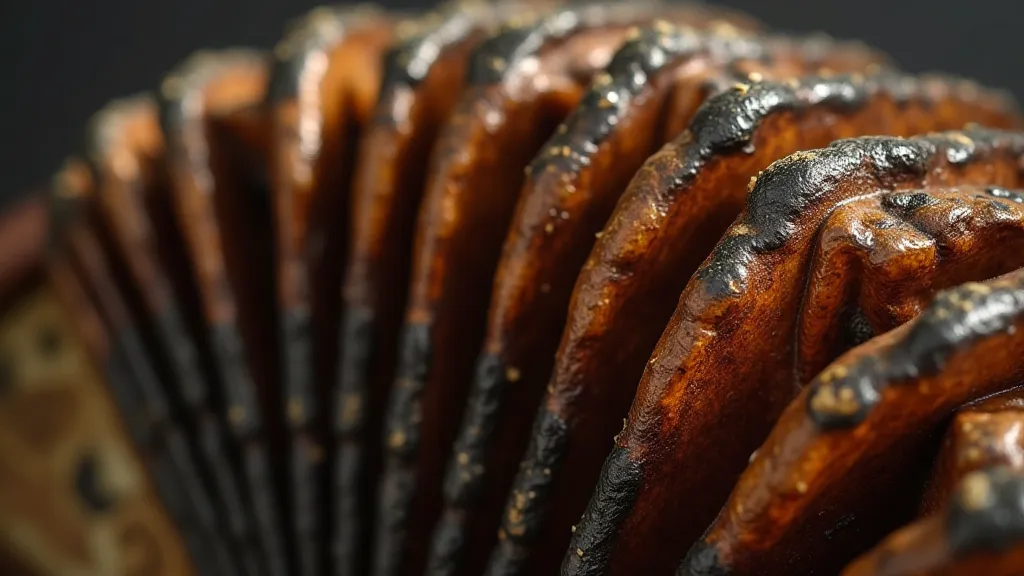
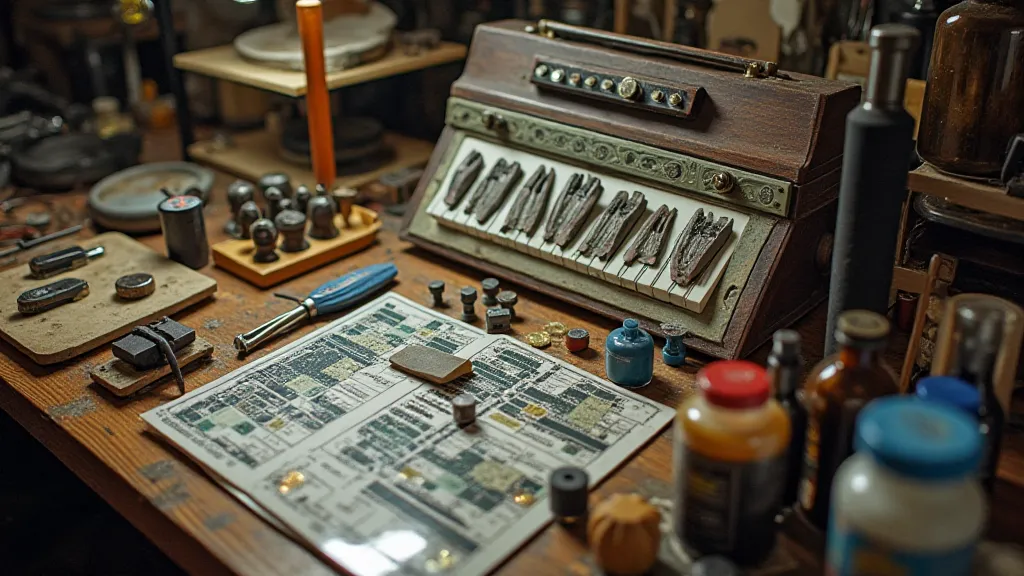
There’s a certain romance in taking something broken, something seemingly beyond repair, and breathing new life into it. It's a sentiment I’m intimately familiar with, fueled by years spent restoring antique accordions. These weren't just instruments; they were testaments to a bygone era of meticulous craftsmanship, intricate engineering, and an almost obsessive attention to detail. Each bellows, each key, each reed – a testament to hours of skilled labor. Disassembling them, understanding their mechanisms, and then piecing them back together, stronger and more resonant than before – it's a deeply satisfying process. And that same satisfaction, that same drive to understand and rebuild, is at the heart of designing and fabricating your own PCBs.
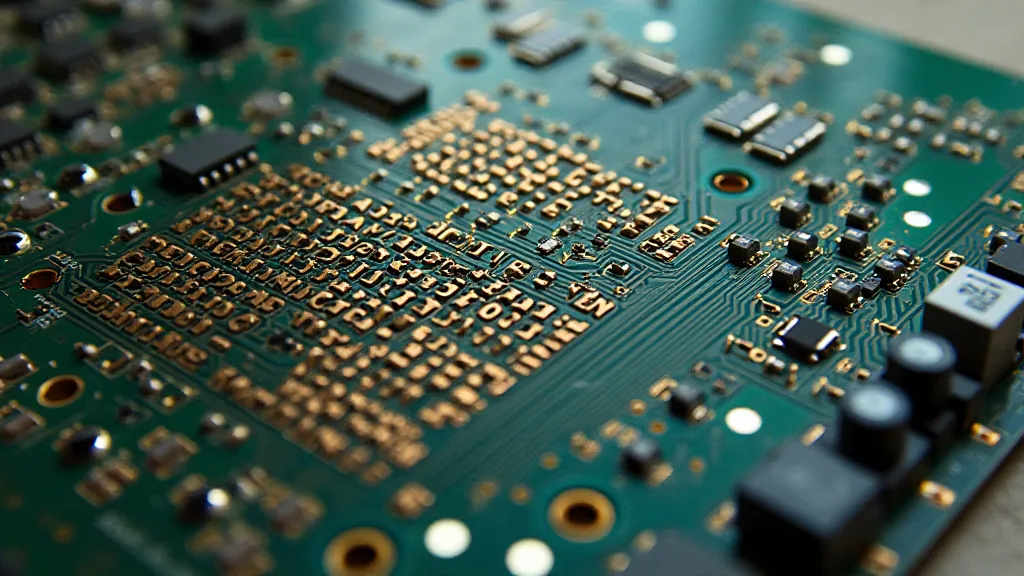
Just as an accordion’s complex internal workings are critical to its sound, a printed circuit board (PCB) is the backbone of countless electronic projects. From simple LED blinkers to sophisticated Arduino-powered robots, the PCB provides the pathway for electrons to flow, enabling the device to function. While pre-made PCBs are readily available, there’s a unique sense of accomplishment that comes from creating your own, tailored precisely to your needs. This journey, in its own way, can feel much like an artistic endeavor, a sort of modern alchemy where simple materials transform into functional art. In fact, the desire to repurpose old electronics and breathe new life into them—a principle mirrored in restoring antique instruments—is a powerful motivator for many DIY enthusiasts. You might even find yourself considering the Alchemist's Crucible, exploring how to turn discarded components into captivating creations.

From Blueprint to Board: The Design Phase
The journey begins not with solder and chemicals, but with a design. There are numerous software packages available for PCB design, ranging from free, open-source options like KiCad to more sophisticated commercial tools. The key is to choose a program you’re comfortable with and that meets your project's complexity. Beginners might start with simple, single-layer designs, gradually progressing to double-layer boards as their skills develop. Think about the broader implications of your design; many modern projects involve complex timing systems, and a foundational understanding of those principles will serve you well. For those delving deeper into these areas, exploring Chronometric Cascades, which discusses building precise timekeeping systems with Arduino, can be a valuable resource.
Consider the layout carefully. Trace the connections, ensuring sufficient spacing between traces to prevent short circuits. Think about component placement, optimizing for signal integrity and ease of soldering. This stage requires patience and a willingness to experiment. It’s not uncommon to iterate on a design several times before arriving at the final blueprint. Remember, a well-designed PCB isn't just about functionality; it's about the elegance of its solution – a principle that resonates with the meticulous craftsmanship seen in antique instruments.
The Etching Process: Unleashing the Circuit
Once the design is complete, the next step is to transfer it onto a copper-clad board. This is typically done using a toner transfer method. The board is placed in a printer, and the design is printed onto a piece of transfer paper. The paper is then carefully aligned with the copper board and heat-applied, transferring the toner onto the copper surface. The toner acts as a resist, protecting the copper beneath during the etching process.
Next comes the etching itself. This involves immersing the board in a chemical solution that selectively dissolves the exposed copper, leaving behind the desired circuit pattern. Common etchants include ferric chloride (FeCl3) and cupric ammonium chloride (CuCl2). Safety is paramount here. Always wear gloves and eye protection, and work in a well-ventilated area. The careful management of chemical reactions in this process mirrors the precision needed to handle delicate materials when restoring antique accordions. The reward is the tangible outcome of your dedication – a circuit pattern emerging from the copper, a testament to your meticulous process. Imagine coordinating multiple sensors and microcontrollers to achieve a complex automated system. This intricate dance requires precision timing and robust communication, principles that also govern the operation of a finely tuned, vintage accordion—and the careful processes involved in creating automated power monitoring systems, as described in Guardians of the Grid. Successfully coordinating these systems involves principles applicable across engineering disciplines.
The Solder Mask: Protecting the Foundation
After etching, the board is typically coated with a solder mask. This protective layer prevents solder from bridging traces during the soldering process, a common source of errors. It also protects the copper from oxidation and corrosion.
There are various methods for applying a solder mask. One common approach is to use a spray-on or brush-on epoxy resist. The application requires a steady hand and careful attention to detail to ensure even coverage and avoid masking unwanted areas. UV-curable solder masks are also available, requiring exposure to ultraviolet light to harden. The goal here is to create a durable foundation – much like preserving the delicate bellows of an accordion, ensuring its longevity and protecting it from the elements.

Troubleshooting Common Fabrication Errors
Even with the best planning and execution, errors can occur. Here are a few common pitfalls and how to avoid them:
- Uneven Etching: This can be caused by inconsistent etchant concentration, temperature fluctuations, or poor agitation. Ensure your etchant is properly mixed and maintained at the recommended temperature. Gentle agitation helps ensure uniform etching.
- Toner Bleed: Heat applied during the toner transfer process can be too high, causing the toner to bleed and blur the circuit pattern. Reduce the heat setting and experiment with different transfer papers.
- Short Circuits: These can be caused by solder bridging traces. Careful soldering technique, using a fine-tipped soldering iron and appropriate flux, can minimize this risk.
- Lifted Traces: These occur when the copper traces detach from the board. This can be caused by improper handling of the board during the etching or soldering process. Be gentle and support the board adequately.
Beyond the Basics: Expanding Your Skills
Just as an accordion’s complexity lies in the interplay of its many components, the art of PCB fabrication extends far beyond these basic techniques. As you gain experience, you can explore more advanced methods, such as creating double-sided boards, incorporating surface mount components, and experimenting with different etching chemicals and solder mask materials. The possibilities are as limitless as your imagination.
For those interested in replicating sounds and archiving historical recordings, the techniques used in PCB fabrication are not dissimilar to the methods used to preserve ephemeral echoes. Consider how sound engineers manipulate frequencies and waveforms; this echoes the intricate details that go into a well-designed circuit. In fact, creating compelling art often involves capturing and recreating experiences—much like using microcontrollers to preserve and recreate historical sounds, as explored in Ephemeral Echoes. The art of capturing and replaying sounds, just like meticulously building a circuit, involves careful consideration of timing and signal integrity—principles essential for systems that rely on low-power wireless networks, as detailed in Shadows of the Digital Frontier.
The preservation of sonic history involves a blending of technical precision and artistic vision, a philosophy that also applies to other creative pursuits. Just as old accordions are brought back to life, circuit boards can be constructed to embody both functionality and artistic expression. The ability to manipulate and synthesize sound, much like the manipulation of chemical reactions and materials in PCB fabrication, opens up exciting possibilities for creative exploration.
The meticulous nature of this craft, the problem-solving required at every step, it mirrors the dedication needed to restore an antique accordion. Both endeavors demand patience, a keen eye for detail, and a deep appreciation for the artistry involved. The satisfaction of holding a fully functional PCB, knowing you designed and fabricated it yourself, is a truly rewarding experience, a tangible embodiment of ingenuity and perseverance, much like the resonant, heartfelt melody emanating from a lovingly restored accordion.


